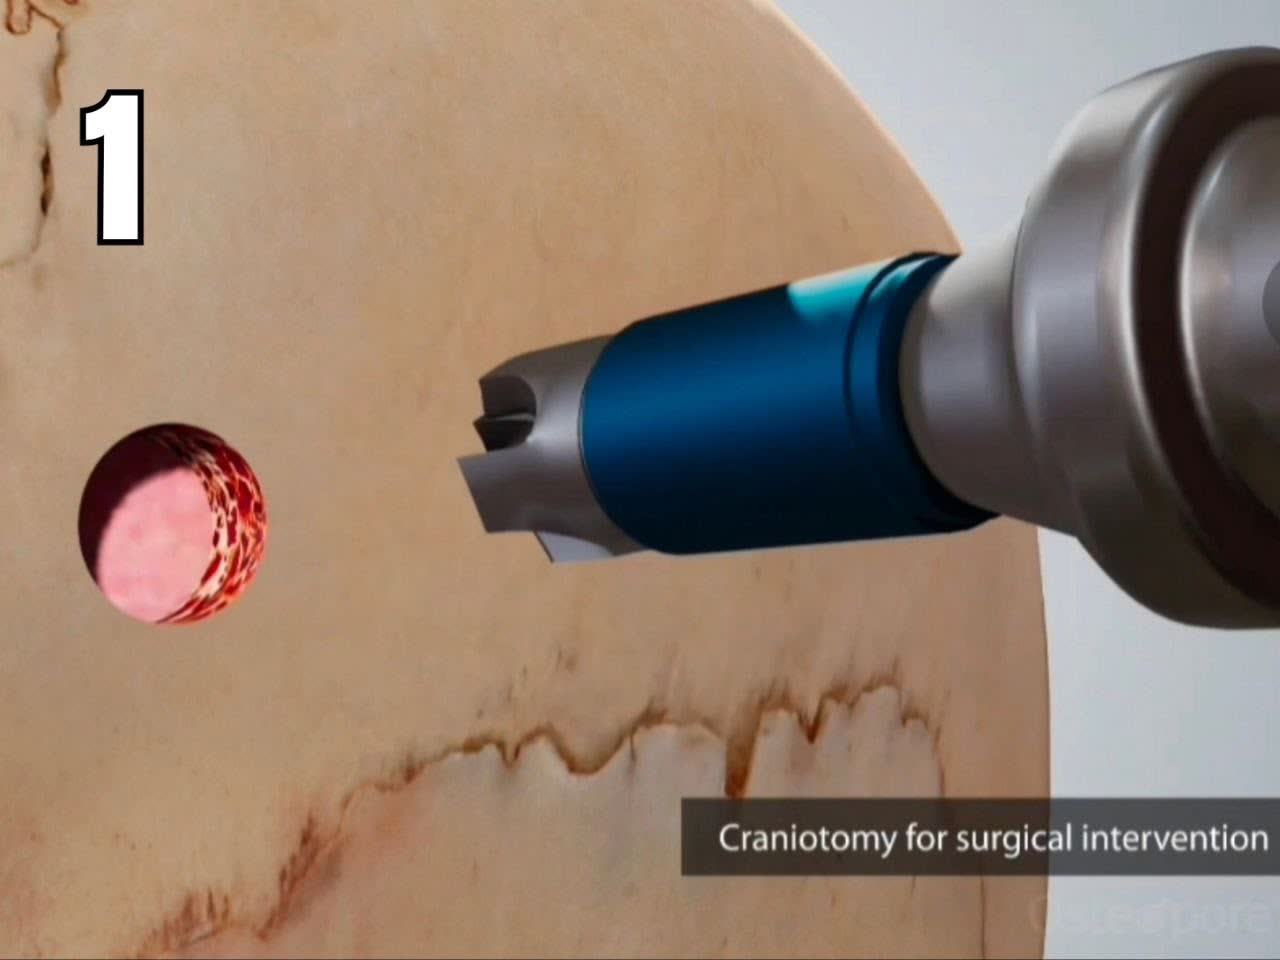
Creating the Burr Holes
The animation begins with the creation of two burr holes in the skull at the start of the craniotomy.

Surgical Technique
A step-by-step overview of the placement sequence, from craniotomy to the final seating of both implants.
The following six steps illustrate how the Pericardium Membrane is positioned within the burr holes during a cranial procedure.
The animation begins with the creation of two burr holes in the skull at the start of the craniotomy.
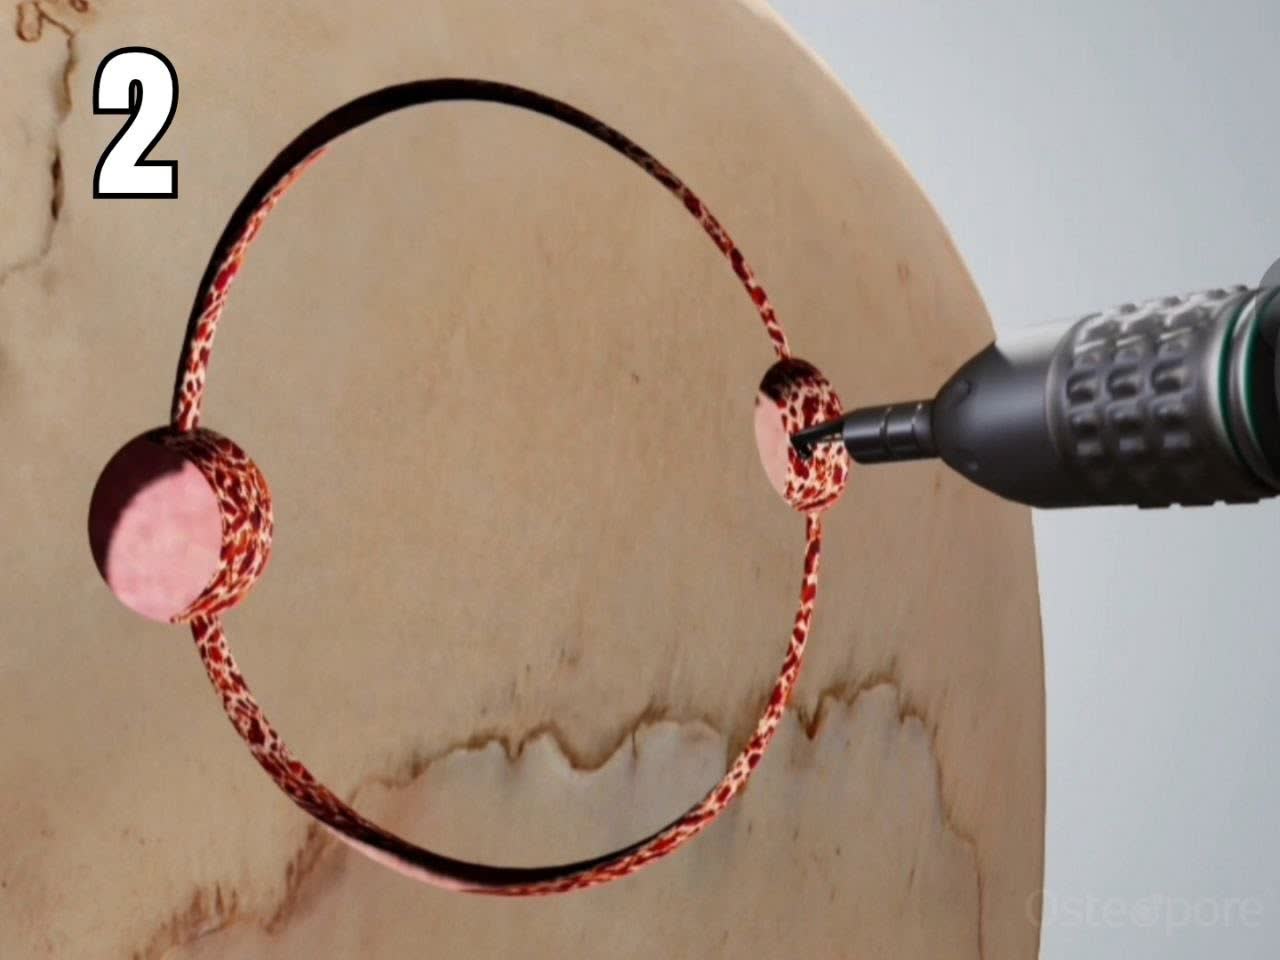
The cuts connect the two burr holes and define the outline of the bone flap, which is lifted to provide access to the surgical site.
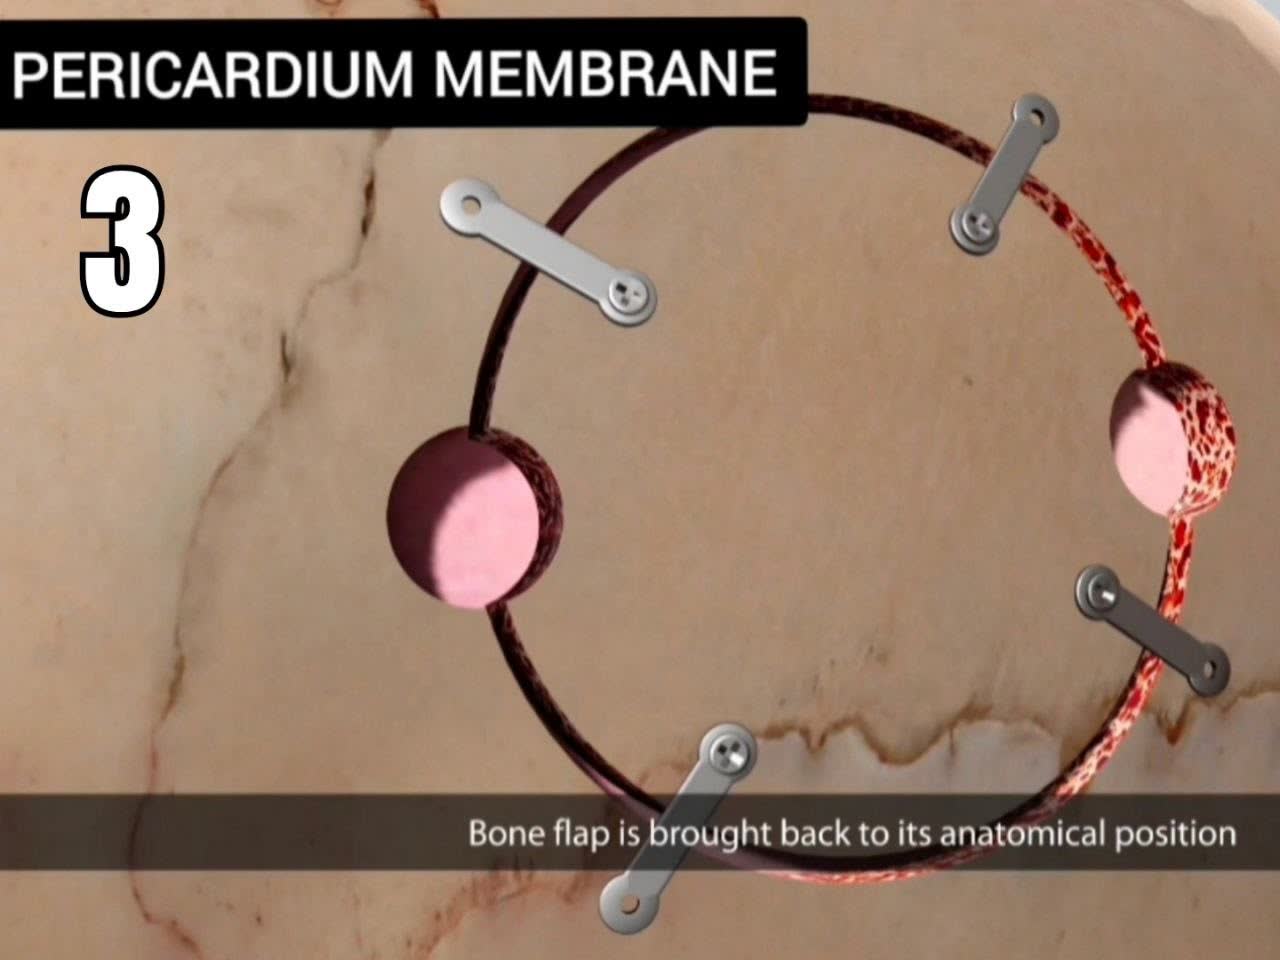
A second Pericardium Membrane is placed in the opposite burr hole. The final view shows both implants seated, with their circular rims visible on either side of the bone flap.
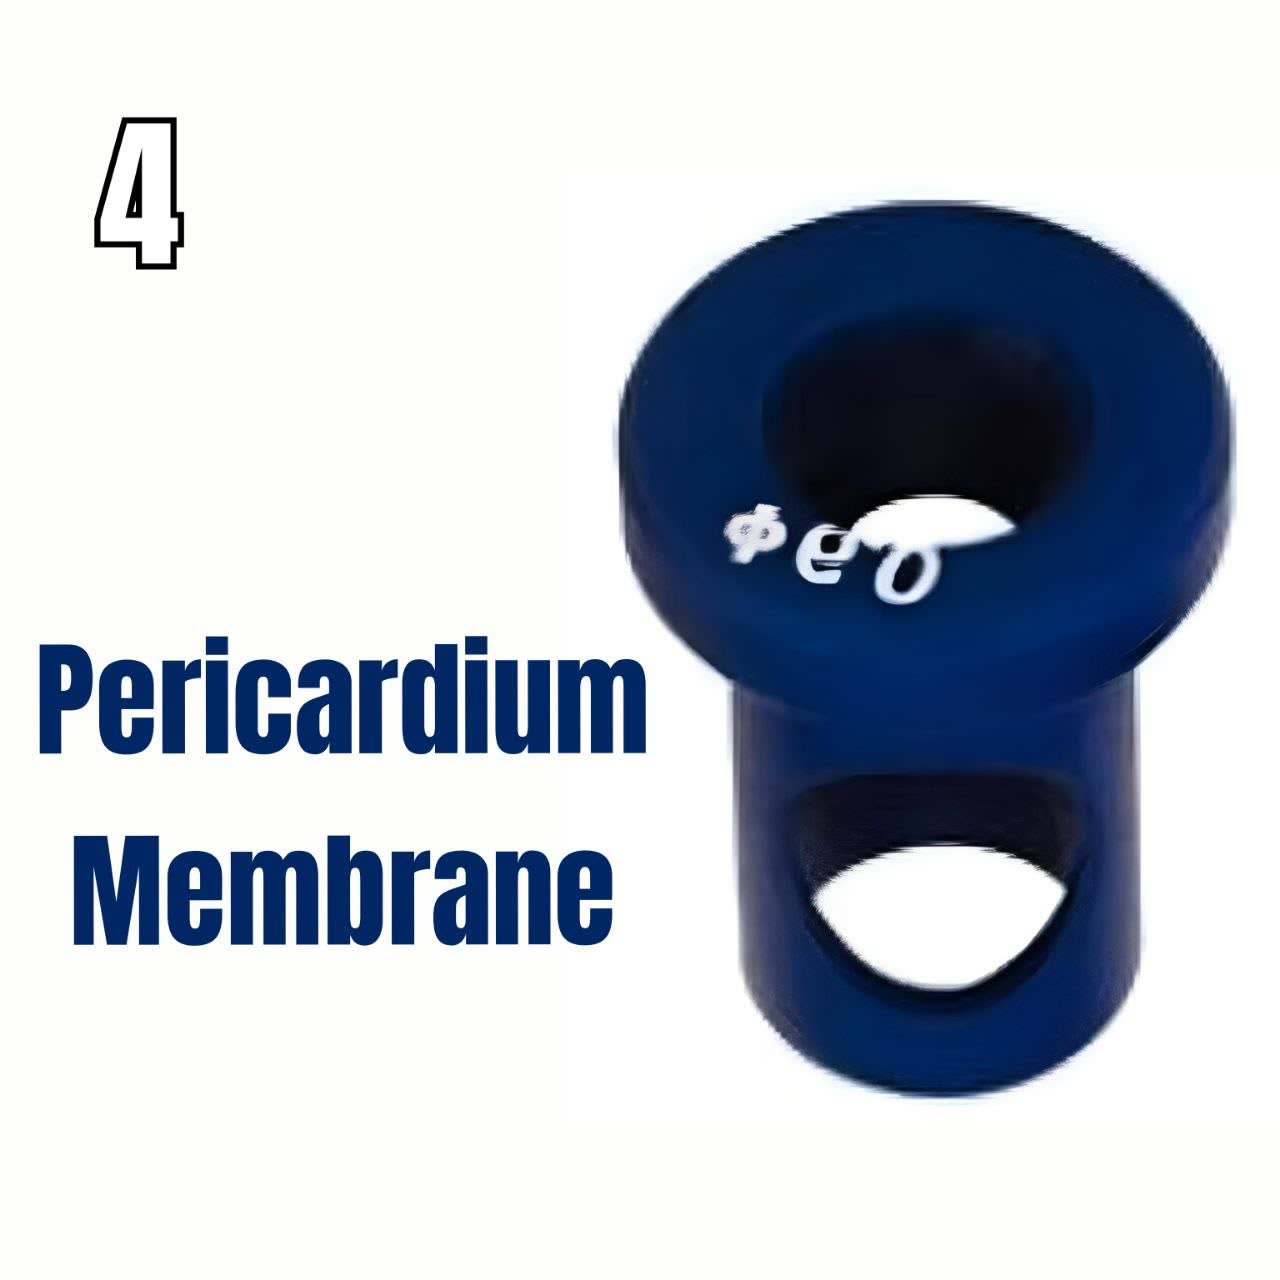
The close-up shows the implant’s wide circular rim and the narrower section beneath it that fits inside the burr hole.
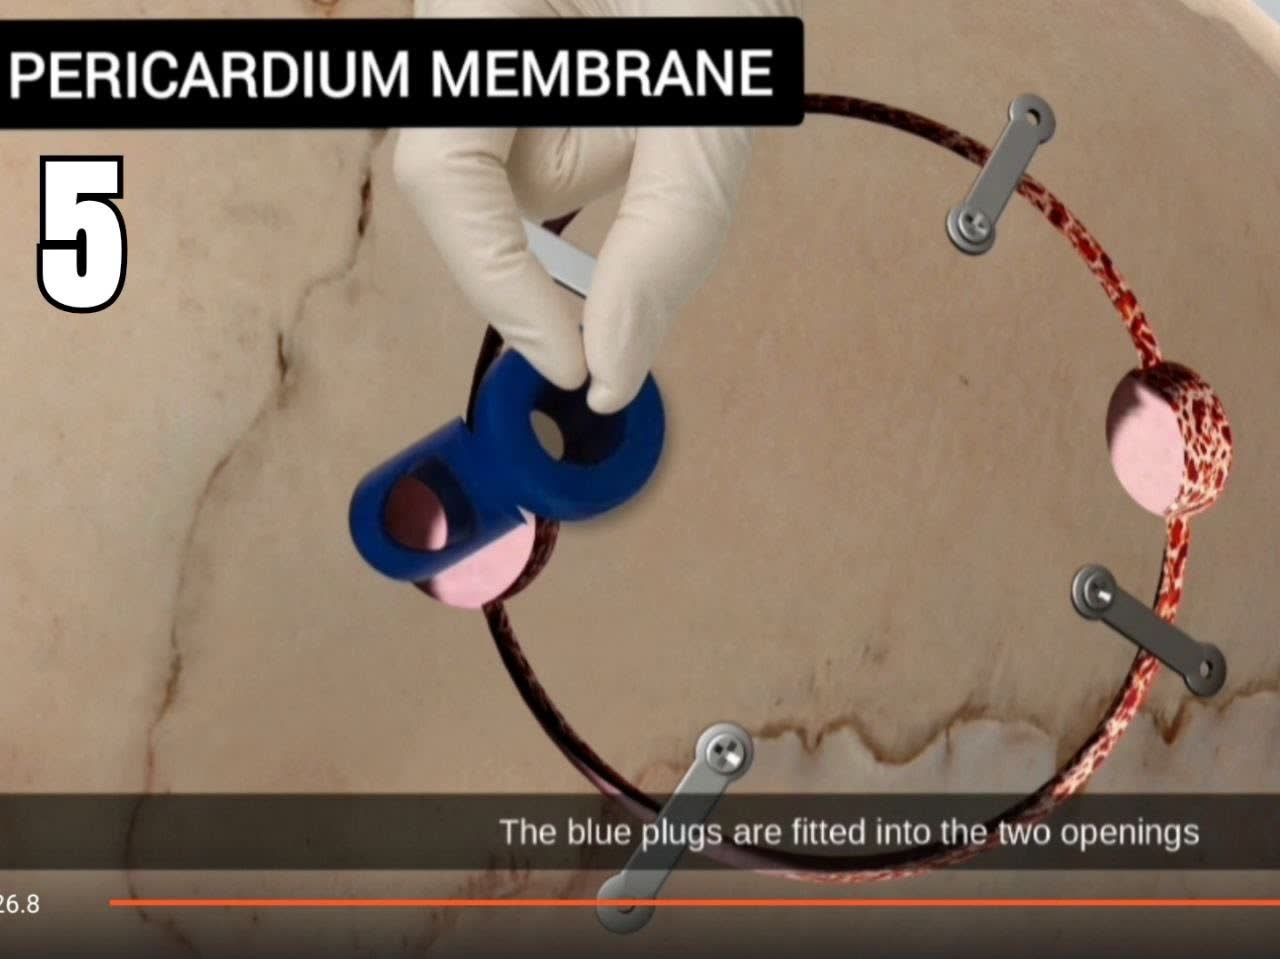
The narrower section of the first Pericardium Membrane fits inside the first burr hole, leaving the circular rim visible at the opening.
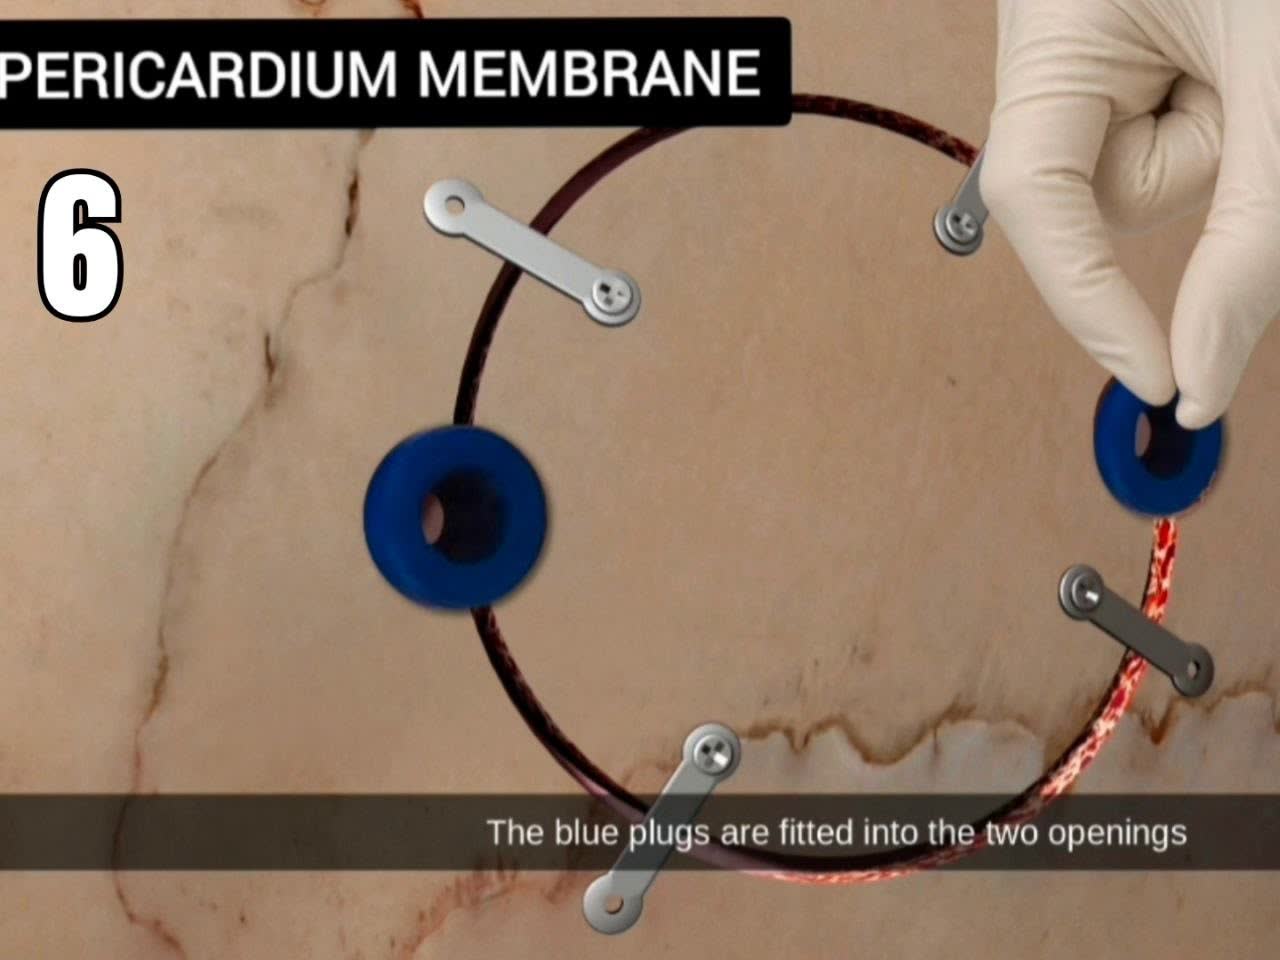
After the surgical procedure, the bone flap is returned to its anatomical position. Fixation plates are visible along its edges, and both burr holes remain open.